Page 4 of 5
Re: Merlin - Inwales 6-13-11
Posted: Tue Jun 14, 2011 12:03 am
by RedWolf
A year and a half in the making, great looking boat, can't wait to see it all finished up.
You must have a VERY patient and understanding wife. I start getting "the look" from my wife if I have a project that takes up space for more than a week...LOL
Re: Merlin - Inwales 6-13-11
Posted: Tue Jun 14, 2011 10:54 am
by Dogpaddlin
Re: Merlin - Inwales 6-13-11
Posted: Wed Jun 15, 2011 11:07 am
by TexaRican
Dogpaddlin wrote:RedWolf wrote:A year and a half in the making, great looking boat, can't wait to see it all finished up.
You must have a VERY patient and understanding wife. I start getting "the look" from my wife if I have a project that takes up space for more than a week...LOL
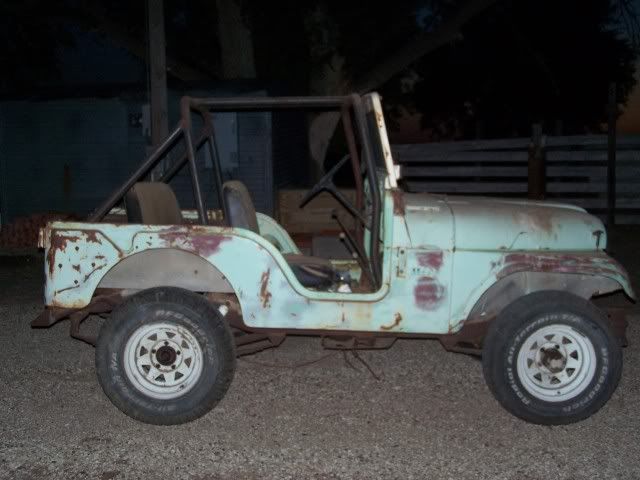
My wife and I came to an understanding a long time ago, the garage is my haven/sanctuary, the rest of the house is her's. She knew she had lost the battle when she came home one night to find a 1956 Border Patrol Jeep in HER garage before we were even married! All kidding aside, she really is pretty patient.


Timely topic. I have a motorcycle project in my side of the garage right now and was doing some painting on "her" side Sunday when she drove up and threw a fit about having to leave her car in the sun. 16 years and she still doesn't get it

Re: Merlin - Inside Glassed & Gunnels 7-7-11
Posted: Thu Jul 07, 2011 9:16 pm
by Dogpaddlin
I have continued working on the Merlin over the last several weekends and had some much appreciated help from my father-in-law over the last week. We are really getting close to the end.
Here I have laid all the fiberglass on the inside of the hull and smoothed it out as best I could.
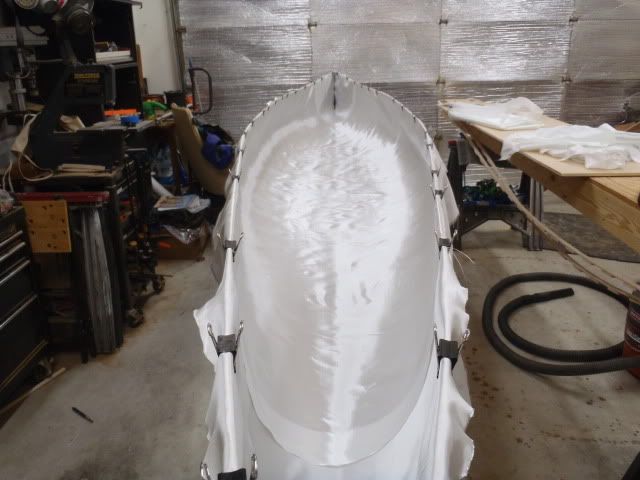
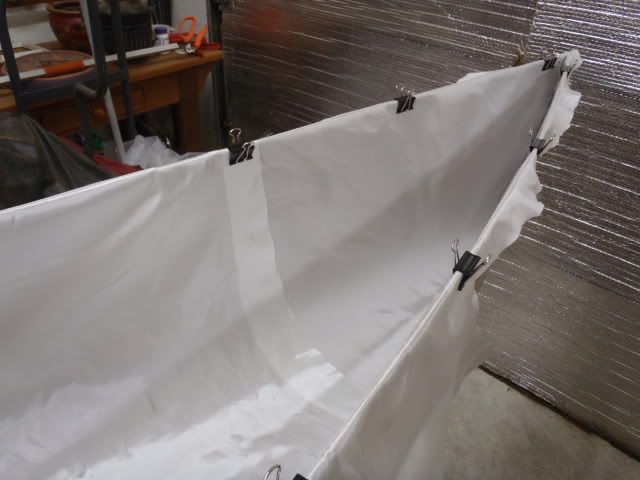
I cut smaller sections for the ends and overlapped the layers of glass. This allows me to work with smaller batches of epoxy which lowers my stress level considerably.
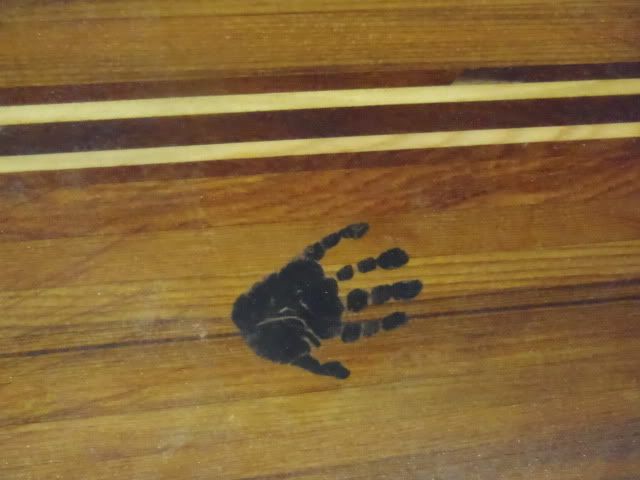
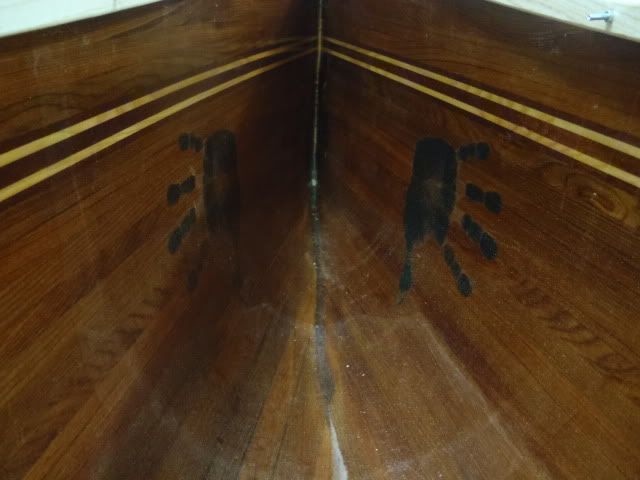
This part may be a little over-sentimental, but since Ben has joined us I wanted to somehow make him a part of this build. The idea I had was to take rice paper from the local art supply store and print copies of his and my hand prints to be placed in the boat. When you apply the epoxy to the rice paper it becomes almost completely transparent and leaves just the hand print visible. You have NO IDEA how hard it is to get a good hand print from a 3 month old, there was ink all over him, me and the kitchen. Fortunately Mom was not home at the time!
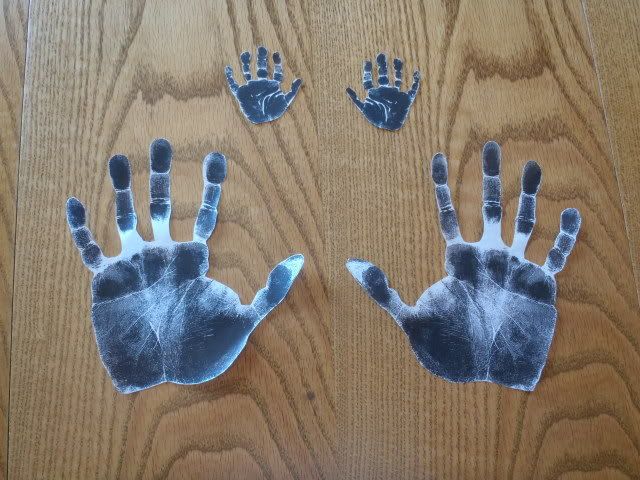
I took Ben's hand prints and inserted them under the fiberglass in the bow of the boat and put mine in the stern. This was a little tricky, normally you get your fiberglass all smoothed out and then apply the epoxy but in this situation I had to fold the glass back, apply epoxy to the hand prints and then smooth out the glass over the prints. This is much easier said than done, and is the main reason I cut smaller pieces of glass for the ends.
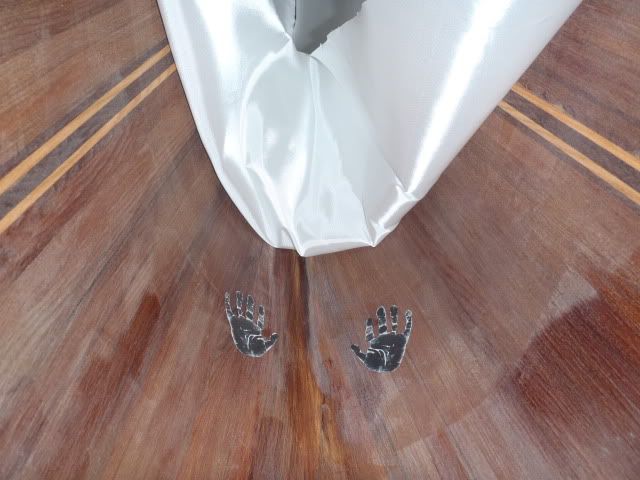
Here the hand prints and glass have been installed in the bow, they came out pretty nice I think.
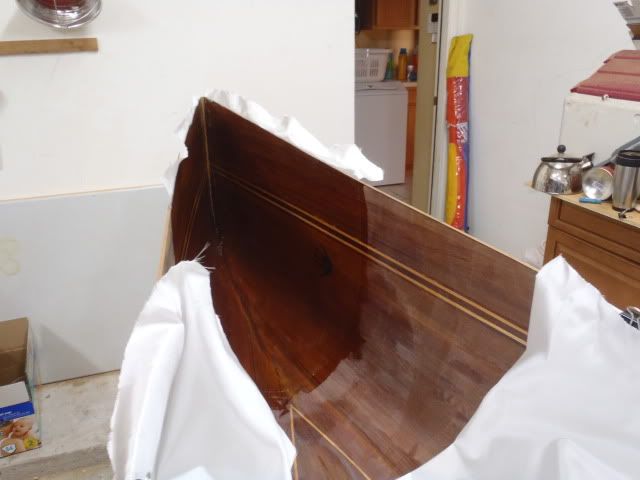
Next I wet out the rest of the 1st layer of fiberglass
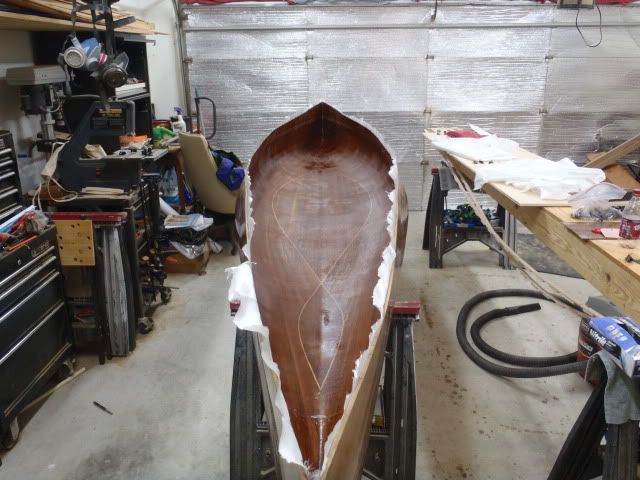
Then I trimmed all the excess off top and laid a 2nd layer in the football area, this is the area that will receive the most wear and tear.
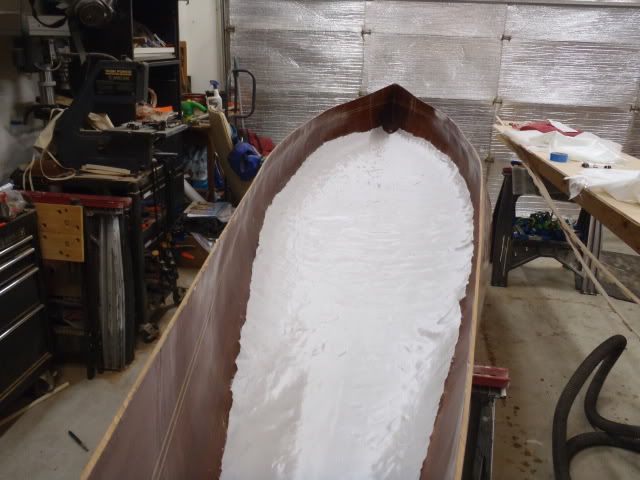
Here I have wet out the second layer.
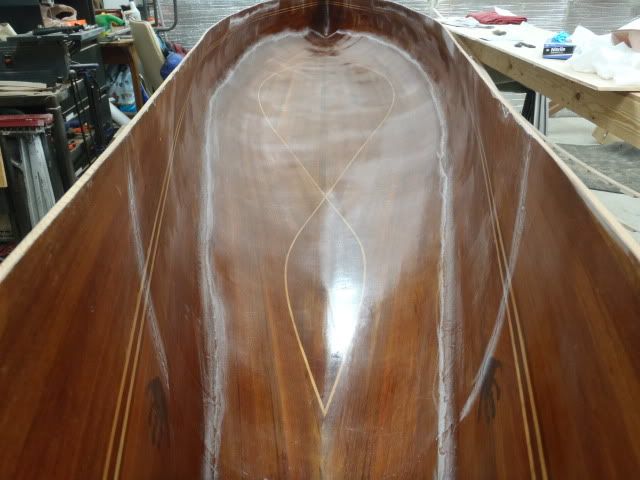
Here you can see where the layers of glass overlap and I have used the scraper to knock down the high points (also seen in the picture above). After another fill coat of epoxy all of this will disappear almost completely.
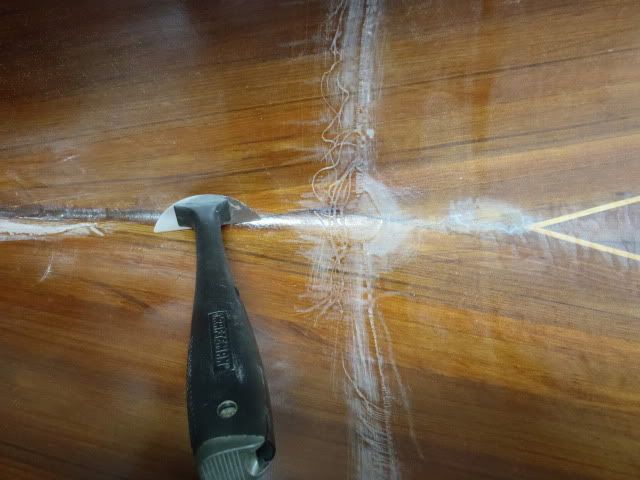
The next step was to do a little bit of
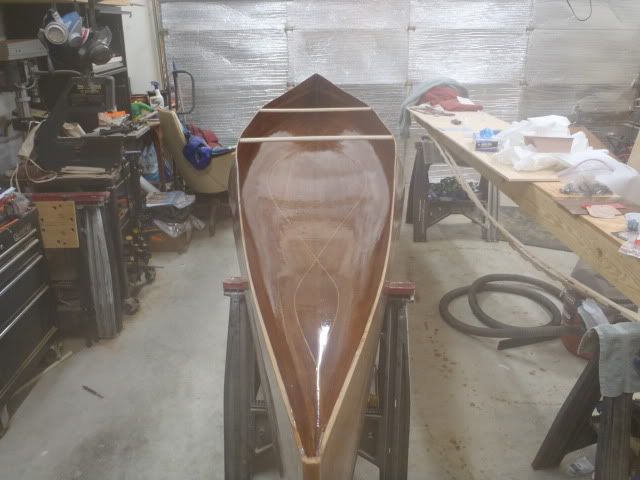
careful sanding since there is very little epoxy to protect the fiberglass cloth at this point and then apply another fill coat. It amazes me how much stiffer the hull became after adding the fiberglass. She is really starting to look good now!
Here is a shot of Ben's hand print after the first fill coat
I really should have wiped the dust out of the bottom of the boat before taking the pictures!
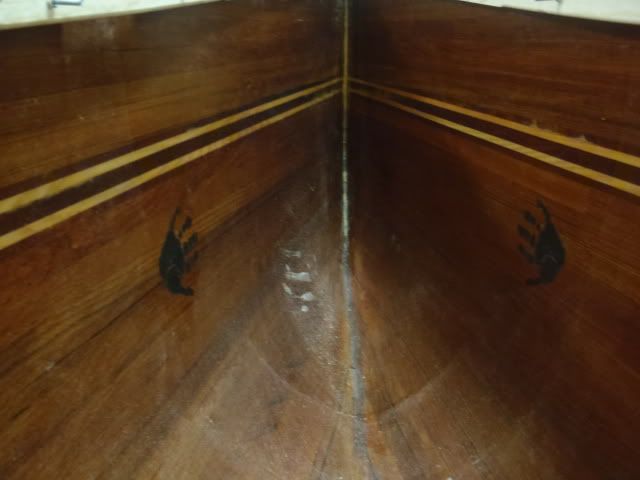
My gorilla hands in the stern of the boat
In the last update I had temporarily installed the inwales using clamps. I had to pull them back out in order to fiberglass the hull and decided to use an 1/8" roundover bit in my router to help soften up their appearance. The router was a late father's day present from Angela and Ben since my last present got canceled (I was supposed to get to drive a stock car for 30 laps, but that is o.k., I will get much more use out of this).
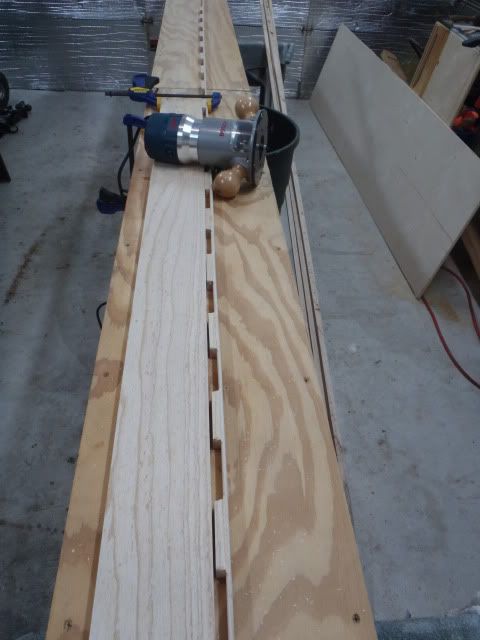
Before, notice how square and "boxy" they look
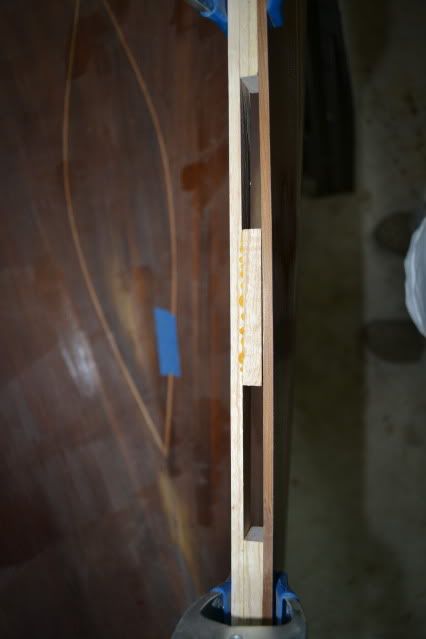
After, I think they look MUCH better but I am still not sure I am happy with them. I may redo them later but they will work for now.
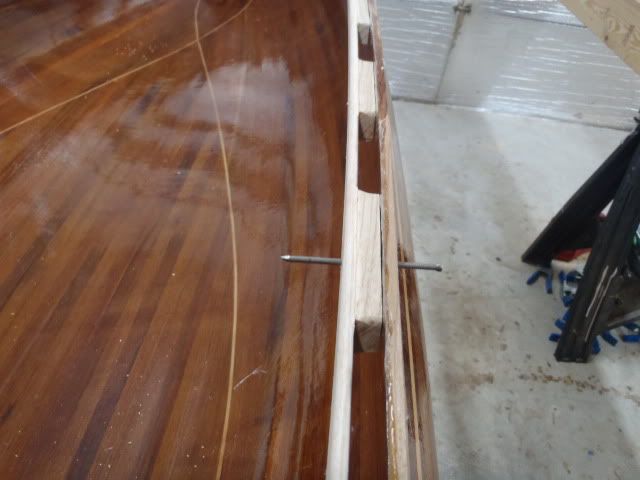
Here both the inwales and outwales have been clamped in place, all the mounting holes drilled and finish nails inserted to hold them in alignment. One thing I have learned since I started building boats, you can NEVER have to many clamps!
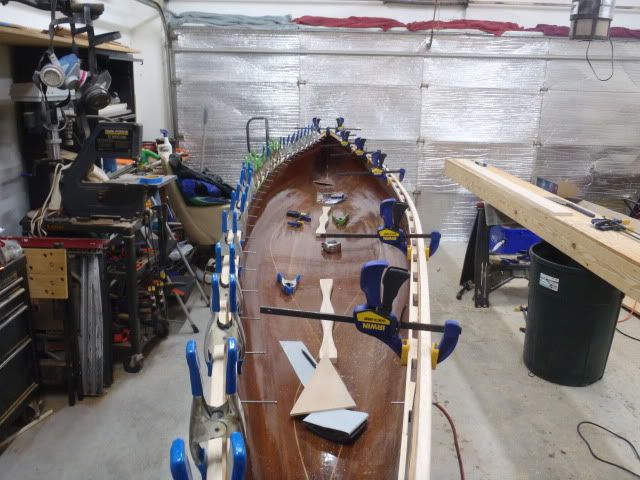
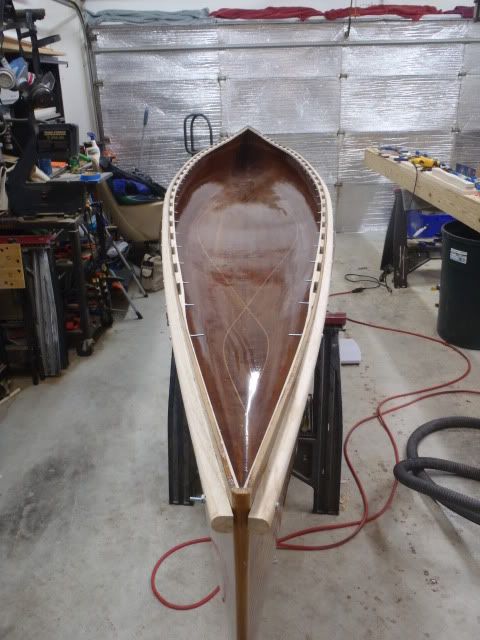
This is a shot looking from the bow back with the inwales and outwales temporarily bolted in place. I will have to come back with brass nuts and bolts later (these are the cheap zinc coated and will rust after getting wet).
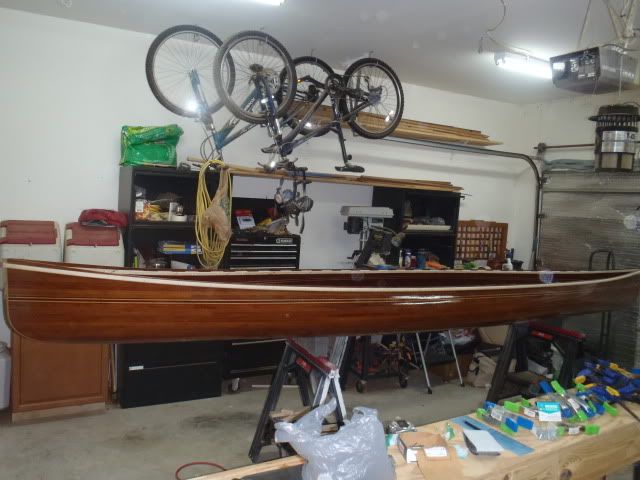
Here are a few shots from the side showing off her curves
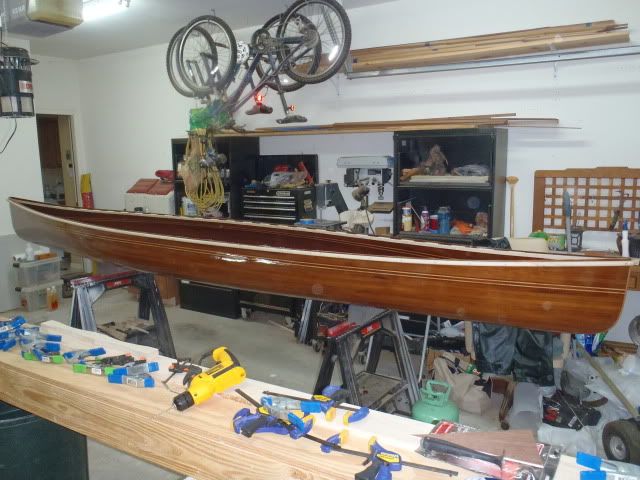
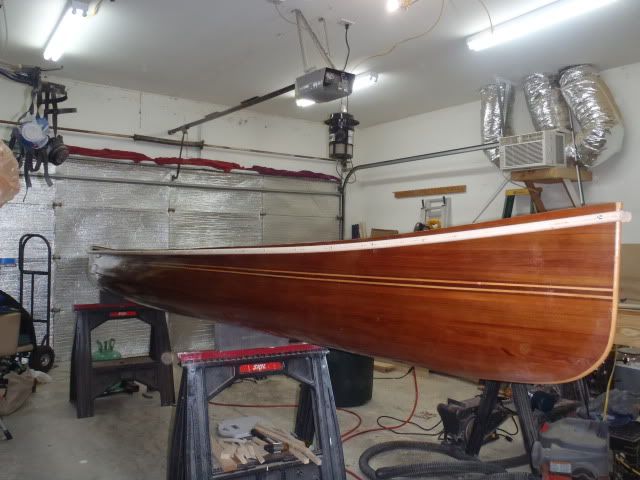
Re: Merlin - Inside Glassed & Gunnels 7-7-11
Posted: Fri Jul 08, 2011 8:20 pm
by bowgarguide
Toby
That is really neat.
The boat looks great and also Dad is standing tall.
Lot of memories down the road for you two.
Ron
Re: Merlin - Inside Glassed & Gunnels 7-7-11
Posted: Fri Jul 22, 2011 8:34 am
by bowgarguide
Toby
Any updates on this?
Also did you build the cradle?
Ron
Re: Merlin - Inside Glassed & Gunnels 7-7-11
Posted: Fri Jul 22, 2011 11:23 am
by Dogpaddlin
I have been working on the decks and re-making the thwarts. I should have them done this weekend (I really need to stop setting deadlines, I don't think I have met one yet!). After that it is just one more fill coat on the inside and sealing all the exposed wood. I hope to have another update the first part of next week.
I am still tying to decide on a seat set up. I am going down to League City next weekend to try out few seats and see what fits my rump the best.
I am still trying to decide how I am going to mount the seats. I am considering Pogo's pedestal or the setup used by Green Valley.
http://www.greenval.com/" onclick="window.open(this.href);return false;
I am a little leery of hanging the seat from the gunwales but I know others have done it and not had problems. Anybody have any thoughts?
Re: Merlin - Inside Glassed & Gunnels 7-7-11
Posted: Fri Jul 22, 2011 12:07 pm
by bowgarguide
I hear you about hanging seats, and I know a lot do it but have read about some having problems.
The best way for me with seating is the rails I put in my boats and then build your seat the right height. It lets me adjust for loads ,carrying a passenger. and I love being able to set the ice chest in front of me when I am fishing for easy access to drinks and I also put fish I keep on ice as soon as I land them ,it sure helps the quality of the fish when you eat them. with the for and aft adjustment it gives me control of my loads and trim.
Just a thought.
Ron
It isnt as pretty as some but it works well.
Re: Merlin - Inside Glassed & Gunnels 7-7-11
Posted: Sat Jul 23, 2011 6:15 pm
by neon14
Every once in a while I call my wife over to the computer to look at a boat. This is one of them. She said it is beautiful.
Re: Merlin - Inside Glassed & Gunnels 7-7-11
Posted: Mon Jul 25, 2011 10:04 am
by Dogpaddlin
Thanks for the compliment Neon.
I am not quite ready for a full report but here is a teaser:
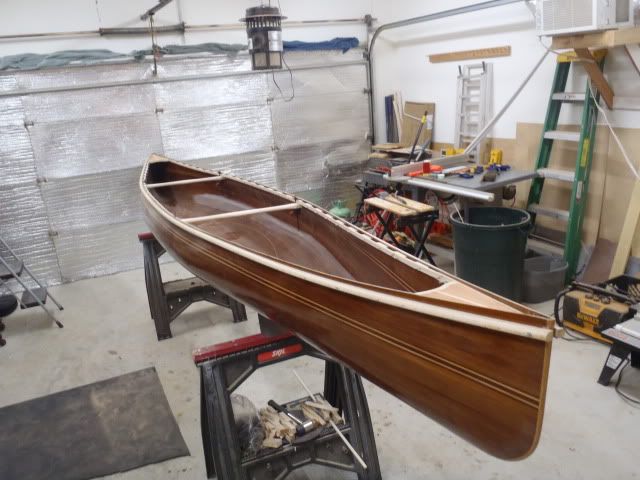
The decks are built and thwarts and done. I still need to do a little sanding on the decks, oil the gunnels, trim the sheer line flush, and seal all exposed wood. I am
REALLY getting close! I suspect she will get paddled before I have a seat installed, I am starting to get antsy!
Re: Merlin - Inside Glassed & Gunnels 7-7-11
Posted: Mon Aug 01, 2011 7:27 pm
by Pogo
So what in the heck does that stinkin' barge WEIGH, anyway?????
, this is cool. But I'll let Toby tell the tale.)
Re: Merlin - Inside Glassed & Gunnels 7-7-11
Posted: Mon Aug 01, 2011 10:19 pm
by Dogpaddlin
Pogo wrote:So what in the heck does that stinkin' barge WEIGH, anyway?????
, this is cool. But I'll let Toby tell the tale.)
She is currently a little overweight at 32lbs (maybe another drive down to League City will shave another 3lbs off her

)! Gonna have to put that wide load on a diet!
I still need to install a seat which I am guessing will add about 3 lbs for a total weight of 35lbs! Hard to believe she is 4ft longer than my plastic T-120 and half the weight! Needless to say I couldn't be happier!


Re: Merlin - Inside Glassed & Gunnels 7-7-11
Posted: Tue Aug 02, 2011 7:24 pm
by Iamdamoder
Way to go Dog


Not only a beauty of a boat but great #/foot too.
I heard you were pretty jazzed at the weigh in.

Re: Merlin - Inside Glassed & Gunnels 7-7-11
Posted: Thu Aug 04, 2011 10:39 am
by bowgarguide
Toby
Really looks good and cant wait to see the paddling report.
Ron
Re: Merlin - Inside Glassed & Gunnels 7-7-11
Posted: Thu Aug 04, 2011 10:58 am
by Dogpaddlin
Thanks Ron.
I have the decks and gunwales finished now I just don't have time to do an update. I am currently working on the seat, I have decided to hang it and it should have 12" - 14" of adjustment for trimming the boat with a load. I may wait and do one more update for the decks, thwarts and seat, then the next report will be a WET one!

Re: Merlin - Inside Glassed & Gunnels 7-7-11
Posted: Thu Aug 04, 2011 11:05 am
by bowgarguide
I know you are getting excited ,and she is looking good. That much adjustment should help a lot on loading.
Ron
Re: Merlin - She's WET!!!
Posted: Sun Aug 21, 2011 10:24 pm
by Dogpaddlin
After almost 2 years I finally got to paddle her! I will go back and post some pictures of the deck build and show some detail of my seat.
Here she is ready for the lake:
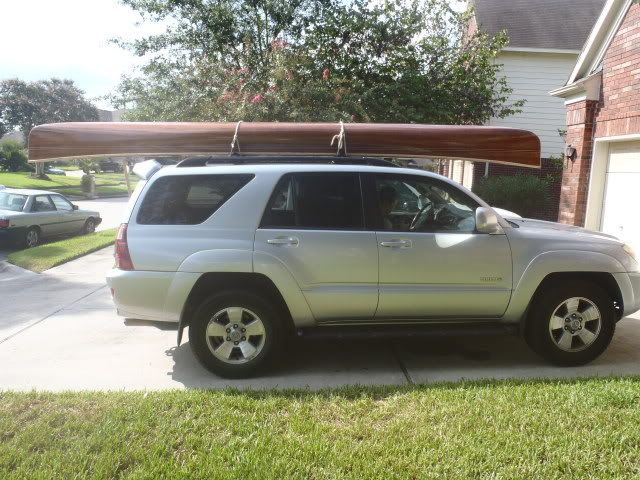
In the water:
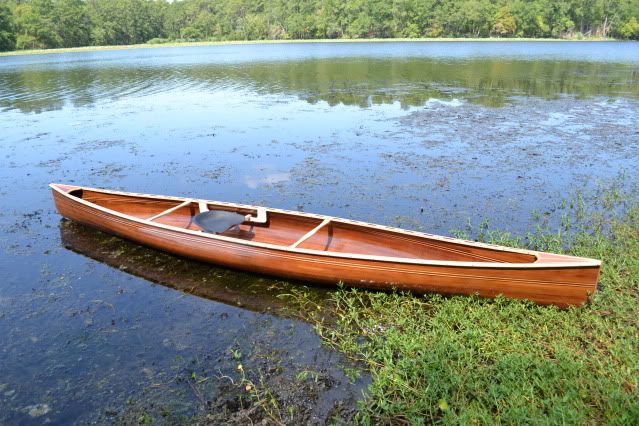
Ready to launch:

Couple of action shots:


I still have some bugs to work out on the seat, primarily on the mount. I set the height at 9.5 inches, that is where Pogo had his. I remember thinking his was a little tippy at first, after today I think I may raise mine another inch. Stability wise she was rock solid. I did not stand up in it (much to the disappointment of my wife) but I am pretty sure it will not be a problem. She tracked really well, in fact it was almost impossible to turn into the wind.
My wife and son went along for the launch, turns out my solo canoe may actually be a tandem:

Re: Merlin - She's WET!!!
Posted: Mon Aug 22, 2011 6:32 am
by Light Keeper's Kid
That last pic is worth every hour of the build

Mike
Re: Merlin - She's WET!!!
Posted: Mon Aug 22, 2011 7:25 am
by TexaRican
Work of art there. You should be really proud.
BTW, what lake is that?
Re: Merlin - She's WET!!!
Posted: Mon Aug 22, 2011 8:33 pm
by Hirsch
She is a beauty Toby, but that figurehead for the bow is set a bit far back!

Re: Merlin - She's WET!!!
Posted: Tue Aug 23, 2011 9:21 am
by Dogpaddlin
TexaRican wrote:BTW, what lake is that?
That was Lake Raven in Huntsville State Park.
Re: Merlin - She's WET!!!
Posted: Sat Aug 27, 2011 12:02 am
by bowgarguide
Toby
Great looking job.

Ron
Re: Merlin - She's WET!!!
Posted: Sun Sep 18, 2011 10:23 am
by Hirsch
Good luck on you float trip later this week. I am sure she will perform beautifully and hope you post up a camping report with lots of pics.

Re: Merlin - She's WET!!!
Posted: Sun Sep 18, 2011 2:08 pm
by Dogpaddlin
I actually just hit Riverbend Park in Smithville. I am supposed to meet my buddy here in the morning so I think I may set up camp right here, there is no one here to tell me not to! I am happy to report the Merlin has performed flawlessly. Moose, my chocolate lab, is happy to report I have not yet flipped him. There will be a full report on both the trip and the boat when I get back.
P.S. If anyone is in the area and would like to bring me a cold Dr Pepper I will love you forever.
Re: Merlin - She's WET!!!
Posted: Sun Sep 18, 2011 3:15 pm
by Hirsch
Good start! I look forward to it.
