I got the plans for the River Ranger 14 from Gerald on 8/4/2011 and ordered my epoxy.
I found a source for some Okume plywood in Dallas.... Sort of.
He had some Okume, but I didn't realize that he only had 6mm, not 4mm.
I went ahead and got the 6mm because it was at a pretty good price.
The surface didn't look quite as good as what I was expecting, but since this is my first attempt at this sort of thing, I felt like I would just paint it anyway. I ordered some graphite for the bottom as well.
I reckon this boat will be a tad heavy, but again, at the end, anything floating will be a success for me!
Here is the wood:

Here are the Epoxy supplies:

First problem...
I glued and taped the 2 panels together in a butt joint on the ground. When it was cured, I saw that the 2 panels were not flush with each other throughout the length of the joint. I thought it looked pretty bad, so I attempted to repair the bad areas by breaking the bond at that location and then re-glue.
That didn't work too well. I ended up breaking the whole joint.
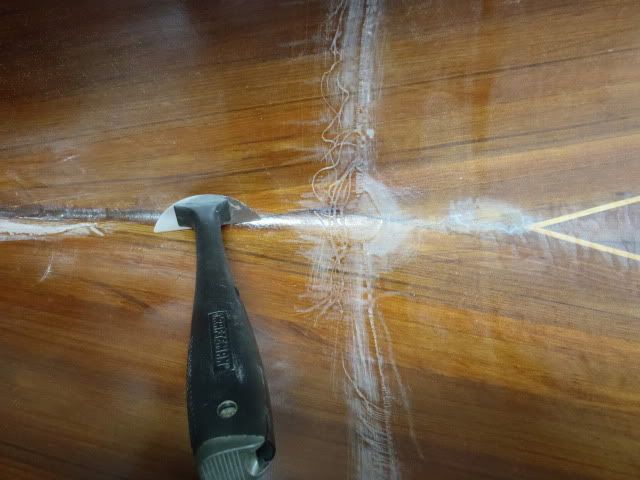
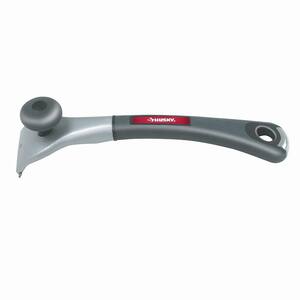
Back to the drawing board. I scraped the glass smooth with my new carbon blade scraper. Man, that thing works wonders!! I love it. Makes quick work of scraping.
So, my second attempt, I decided to use the strongback that I built with a little support board in the middle covered with plastic. This worked a lot better.

I don't have a picture of the all the parts cut out, but I did get it all cut out.
Now, I am ready to finish up the stitching. I still need to stitch up the bulkheads.
I feel kind of obligated to post this here because it is because of all of the other users sharing their lessons and successes here that led me to this point. So, I appreciate everyone sharing their work like that.
Thank you.
Here is where I am at now:

and

and